Loading a Subversion repository from a dump file isn’t as hard as I thought it would be. Once you understand the process, it’s actually quite straightforward and incredibly useful for backing up, migrating, or setting up classroom environments.
The Basic Command
It’s as easy as:
svnadmin load path.to.repository.directory < repository.dump.file
Note: The command is load, not just the path. This tells svnadmin to load the dump file into the specified repository.
Prerequisites
Before running the command, make sure you have:
1. Subversion Installed
- You’ve got Subversion installed on your system
- OR you can access
svnadmin.exedirectly from your PATH - Test this by running
svnadmin --versionin your command prompt
2. Empty Repository Created
The path.to.repository.directory must contain a newly created, empty repository:
# Create a new repository first
svnadmin create path.to.repository.directory

# Then load the dump file
svnadmin load path.to.repository.directory < repository.dump.file
Important: Don’t try to load into an existing repository with commits - it will likely fail or cause conflicts.
What’s Actually Happening
All that this process is doing is replaying every commit that ever happened on the original repository. The dump file contains:
- All revision history
- Commit messages and metadata
- Author information and timestamps
- File changes for each revision
- Branch and tag information
It’s essentially a complete reconstruction of the repository’s entire history from revision 0 to the latest.
Practical Use Cases
Classroom Setup
This is pretty sweet, especially for classroom setups. When students want to go through different revisions afterwards to:
- Compare changes between versions
- Review things learned in class
- See the evolution of a project step-by-step
- Practice with
svn log,svn diff, and other history commands
Repository Migration
- Moving from one server to another
- Changing hosting providers
- Creating local copies of remote repositories
- Backup and disaster recovery
Development Workflows
- Sharing complete project history with new team members
- Creating test environments with real data
- Archiving completed projects with full history
Creating Dump Files
To create a dump file in the first place:
# Dump entire repository
svnadmin dump path.to.existing.repository > repository.dump.file

# Dump specific revision range
svnadmin dump path.to.existing.repository -r 100:200 > partial.dump.file
Common Issues and Solutions
Issue: “Repository not found” error
Solution: Make sure you’ve created an empty repository first with svnadmin create
Issue: Dump file seems to hang on large repositories
Solution: This is normal - large repositories with lots of history take time to process
Issue: Permission errors on Windows
Solution: Run command prompt as Administrator, or check file/folder permissions
Issue: Path contains spaces
Solution: Wrap paths in quotes: "C:\path with spaces\repository"
Example Workflow
Here’s a complete example of the process:
# 1. Create a new empty repository
svnadmin create C:\repos\MyProject

# 2. Load the dump file
svnadmin load C:\repos\MyProject < C:\backups\myproject.dump

# 3. Verify it worked
svn info file:///C:/repos/MyProject
svn log file:///C:/repos/MyProject
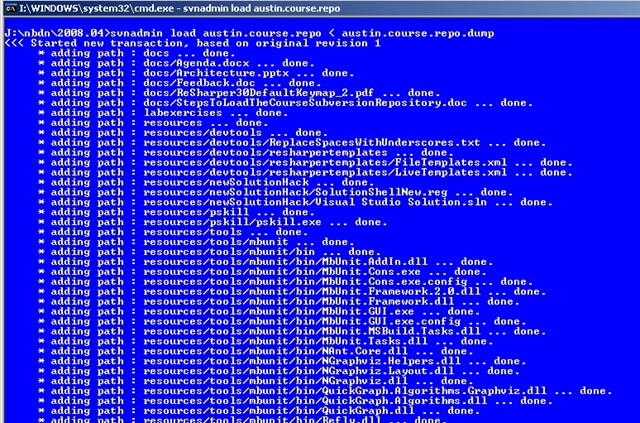
Screenshot Reference
Pro Tips
- Always test the loaded repository with
svn infoandsvn logto verify everything imported correctly - Use revision ranges when creating dumps if you only need recent history
- Compress large dump files to save storage space:
svnadmin dump repo | gzip > repo.dump.gz - Document your dump files with creation date and source repository info
When This Comes in Handy
Repository dump and load operations are invaluable for:
- Training environments where students need consistent starting points
- Backup strategies that preserve complete history
- Server migrations without losing any data
- Creating sandbox environments for experimentation
The ability to completely reconstruct a repository’s history makes SVN dump files one of the most reliable ways to preserve and share development work.